STINSON 108 C-FYMW RESTORATION
First I want credit a man whose blog has encouraged me to proceed with the restoration of a Stinson 108.
And that is of course that is Randy Shields at Stinson 9598k restoration blog. https://stinson9598k.blogspot.com/ I have read and re-read his blog many times since I first found it online.
There are a number of others that are very helpful as well that I follow. Thanks to all the bloggers who have put in the effort because their knowledge and experience that is documented online will certainly help going forward in this project.
I hope over time my blog will be of help to someone rebuilding a Stinson 108 as well
The picture above is one of a stinson on floats I really like the looks of - especially the kids in the foreground - it must have been a wonderful summer for them.
As for the owner I am sorry for using the picture without permission.
I am sure you won't mind.
Hello to all that are following this blog. This is my first attempt at a blog so I am sure it will not be considered anywhere close to professional
My name is Murray Manning and I live in Kitchener Ontario Canada .
I own hangar at Waterloo Regional Airport CYKF .
I bought my first Stinson 108 in 2003 as a project and have collected a couple more air-frames along the way since then . They seem to be like stray dogs - I find them and bring them home.
I have lots of Stinson parts and Franklin Engine parts but until now I have had no time to spend on the projects.
My weekly schedule and workload has changed and I now have 4 days a week to devote to this project that I have looked forward to for so many years.
It is my intention to build a airplane as close to original as possible with the addition of newer safety items like shoulder harness etc.
C-FYMW Started its life as 108-655 known as a straight 108. In this rebuild we will be using most of the wings and tail units however I am replacing the fuselage with the one that came from N8500C - a 108-1 That I purchased in Lockport N.Y a few years ago. I decided to use this fuselage as it is a nice clean unit and it has a baggage compartment.
The original fuselage from C-FYMW has some corrosion issues in the lower longerons and I will use it in a home built project I have planned later - time permitting
Hence I will be rebuilding the aircraft to represent a 108-1. As a note of interest this aircraft was one of the limited number of 108's that were delivered from the factory in the orange/yellow with a blue accent stripe paint scheme.
Below is a picture of The original FYMW fuselage.I have it blasted and painted in epoxy to preserve but it needs some tubes replaced.

Below is a picture of N8500 when I acquired that air frame
This airplane had what was left of an original interior and original paint. The airplane as far as I can determine from it's logs was stored for many years in Upper Michigan
I started to blast this fuse in my spare time in Nov - Dec 2020 and I got it blasted but not sprayed. Pictures from my phone - not great clarity
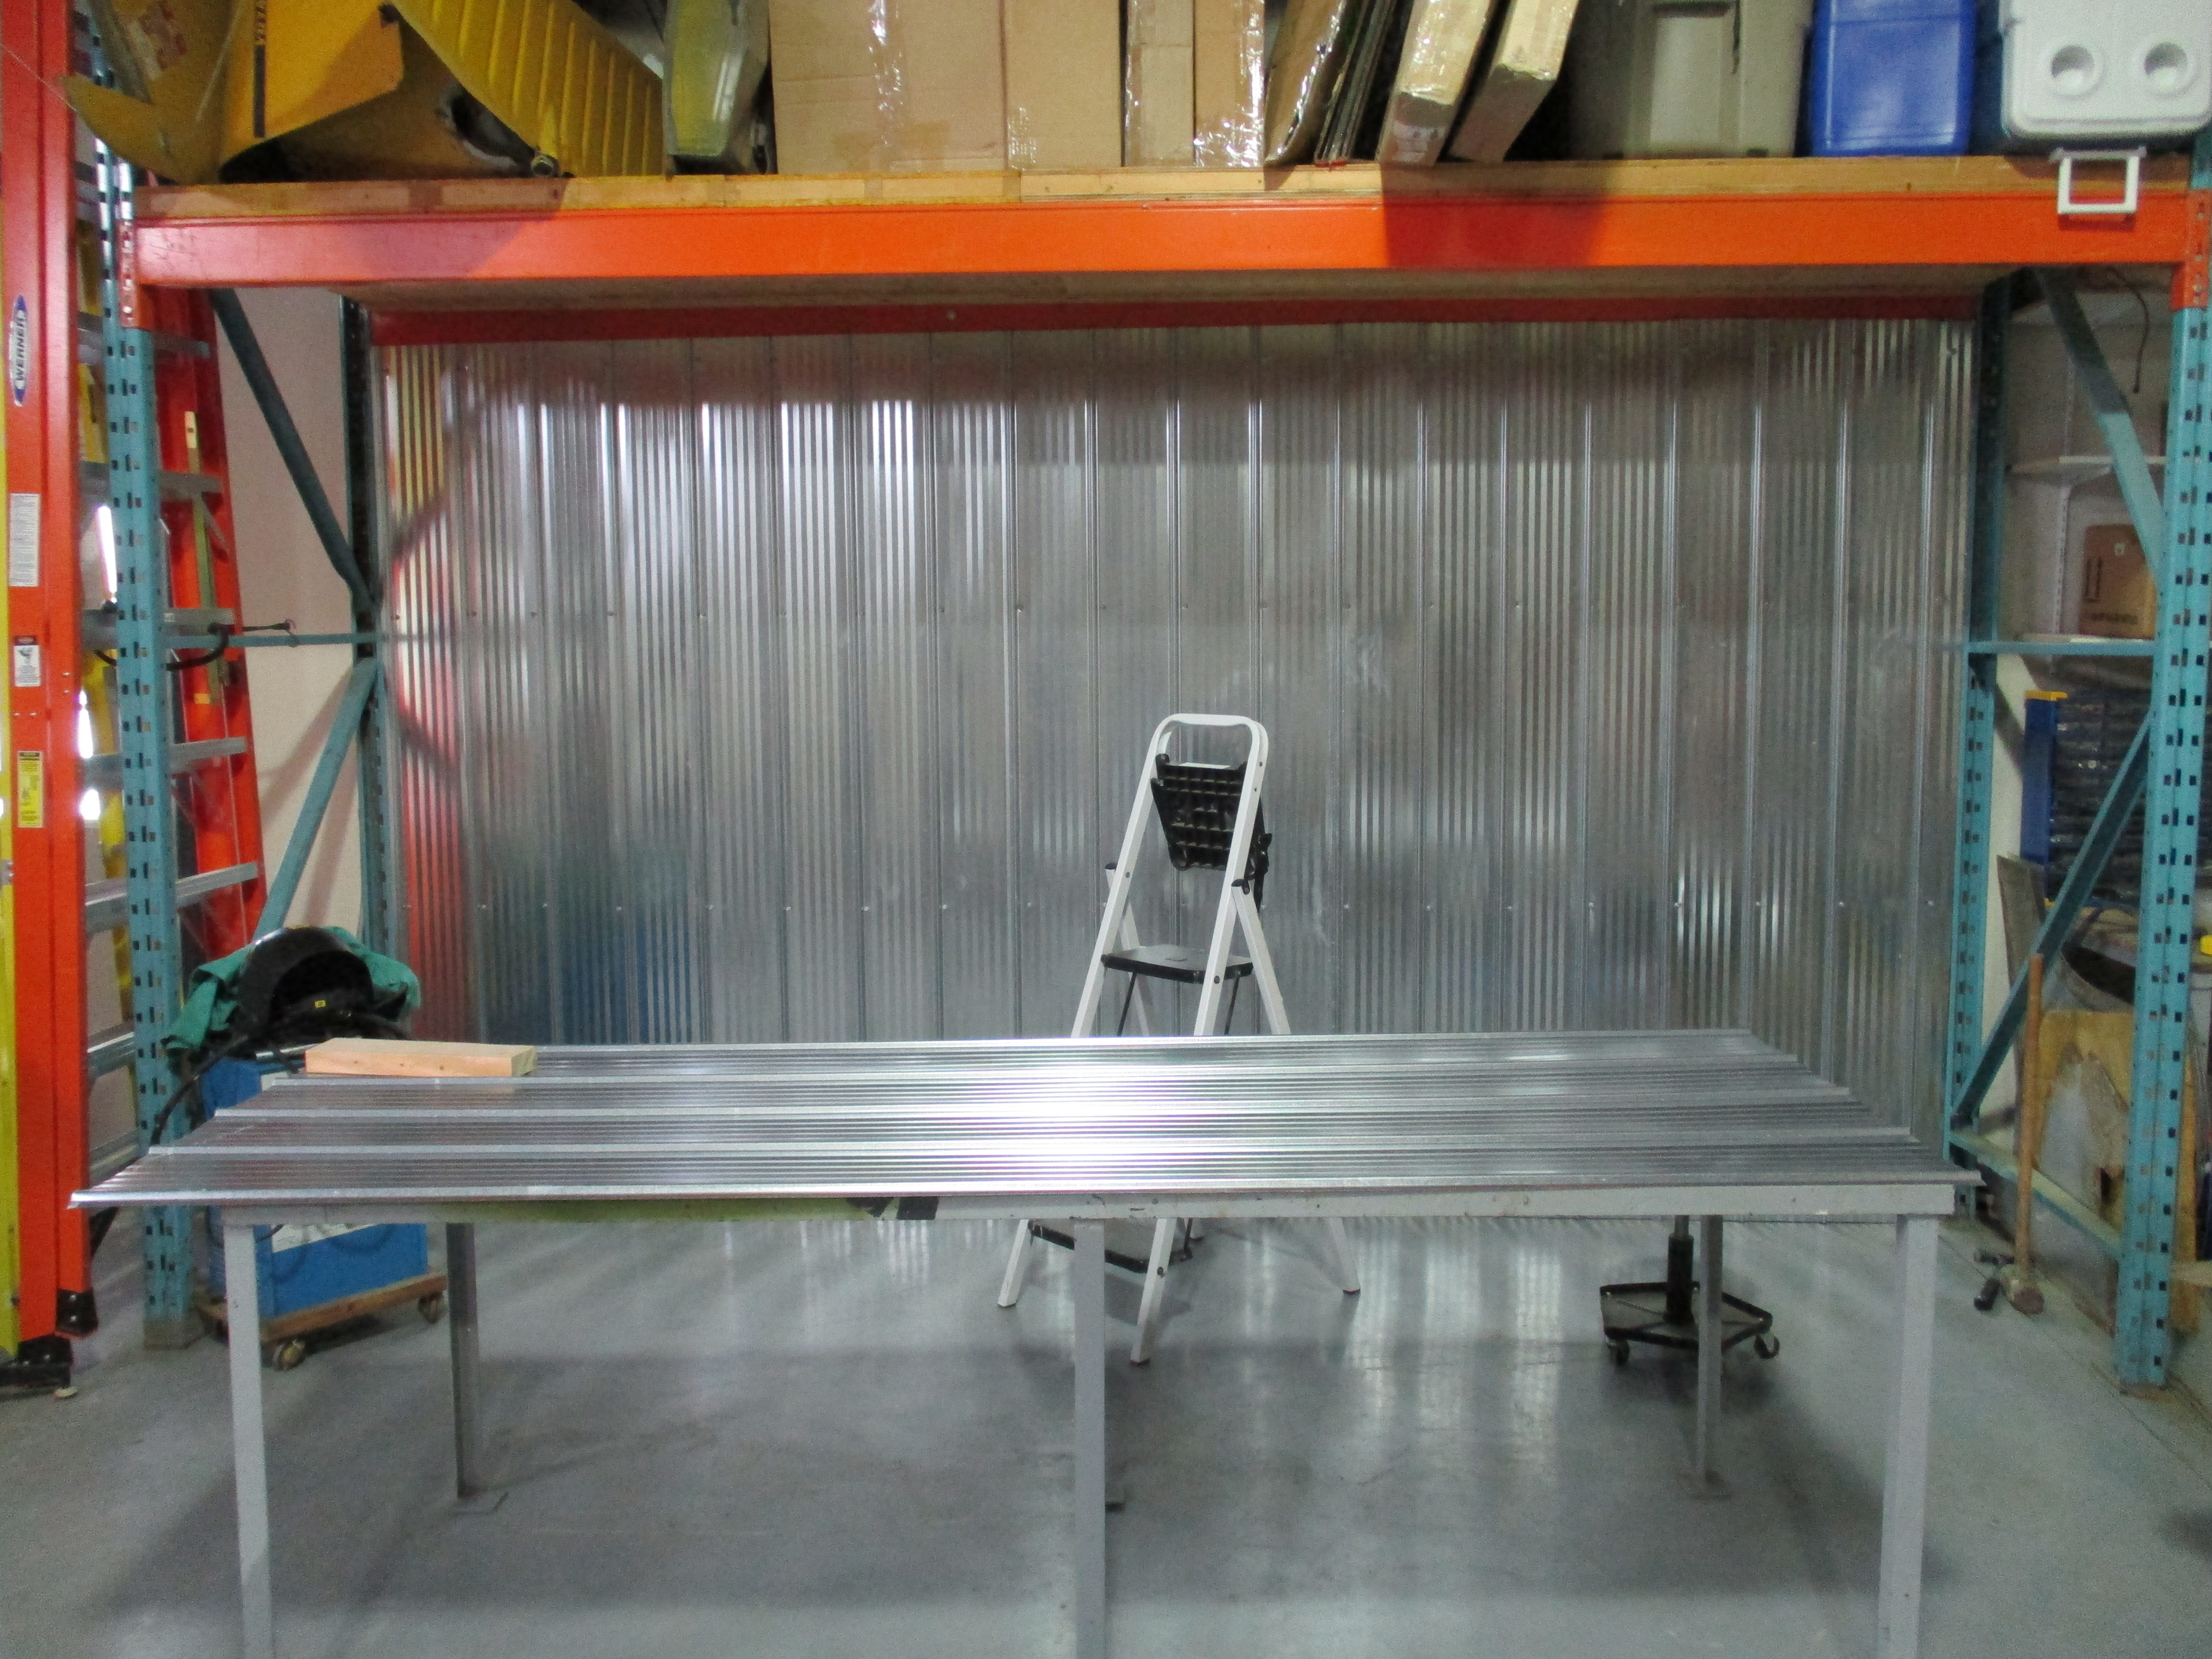
I ran out of good weather to spray the fuselage outside so I decided to create a spray booth in the hangar in the space under the mezzanine.
That took a few weeks to install the exhaust fan and build the walls.
I can remove 4 screws and the panels on the right end come out to allow access to roll the fuse in and out.
So the following photos are from the spray booth I created under the mezzanine in my hangar
I Finally had a few days together that I could deal with some oxidation on the fuse and hit it with some 2 part epoxy primer. I used Stits EP420. It mixed up easy and sprayed well. I used a Hobbyair fresh air system (yellow box on the corner of the workbench) with a full facemask. It works great and is a good investment as the expoxy and urethane paints with hardeners are nasty to the body. Here are some photos of the booth and the fuselage.
 |
first coat of Stits ep420 primer on YMW 's new fuselage |