Endless Small Parts Restoration
Part as removed from the fuselage
A finished part ready to install - Painted with series 50 epoxy paint
In the following posts I will try to document the restoration of the many parts that make up a Stinson 108.
I will show before and after pictures if possible and explain the processes I used to create the finished part.
There are a few different steps along the way depending on the original material of the part, the gauge of the material and coatings or level of corrosion on the part .
The metal preparation process is crucial prior to coating with an epoxy or urethane based primer and paint system.
As I wrote earlier I am using Stits EP-420 two part primer exclusively on most of the parts especially those parts that will be coated with any of the Poly Tac and MEK during the covering process.
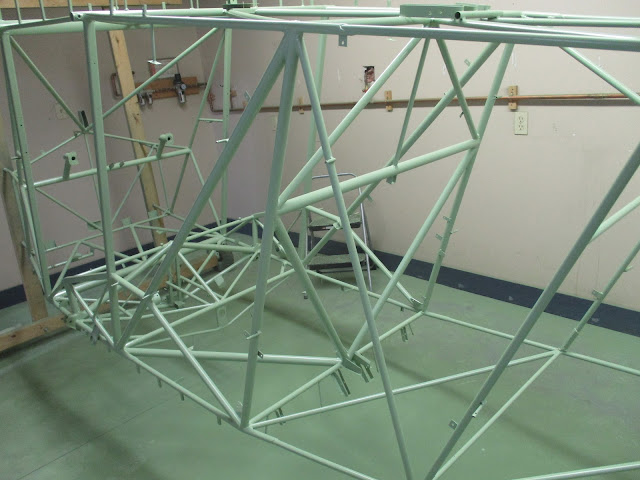
Additionally, I am adding a coating of a light green coloured series 50 - 2 part epoxy paint on the fuselage tubing and attached parts as an extra level of corrosion protection.
Also I like clean look of the colour on the end product
The work takes a lot of time and seems to be endless but soon I know I will be running out of parts to restore and then assembly will start in earnest.
These are Crucial Tools for this Project!
 |
This is the typical blast box from Harbor Freight in the US - or Princess Auto in Canada - they are identical except for the colour
If you buy one there are plenty of mods you can make to it that will allow it to work well.
First - you need a good source of cool dry high pressure air.
In the following picture of my compressor you will see a inter cooler I built to extract the moisture and cool the air going to all my air operated tools but especially the bead/sand/soda blasting equipment.
Second - before you use it:
- put a good light in the cabinet the one that is supplied is poor. I got a double LED at Home Depo
- I cut the deck grate down in size to lower it in the cabinet allowing me to blast larger items. - On You Tube there is a video on how to do it
- I changed the pressure hose to a good short airline I bought at Princess Auto.
- I changed the gun to an improved unit - Princess Auto
- Then I installed a swivel fitting on the gun hose which allowed much easier movement of the gun.
- Buy one of the cyclone vacuum systems available - when used with your shop vac it keeps the atmosphere in the box dust free so you can see the part and removes harmful small dust particles.
This is my Compressor setup with the water trap/ intercooler


