Work on The Fuselage Continues
It has been a while (January) since I have posted on this blog so in the next while I will try to get things up to date.
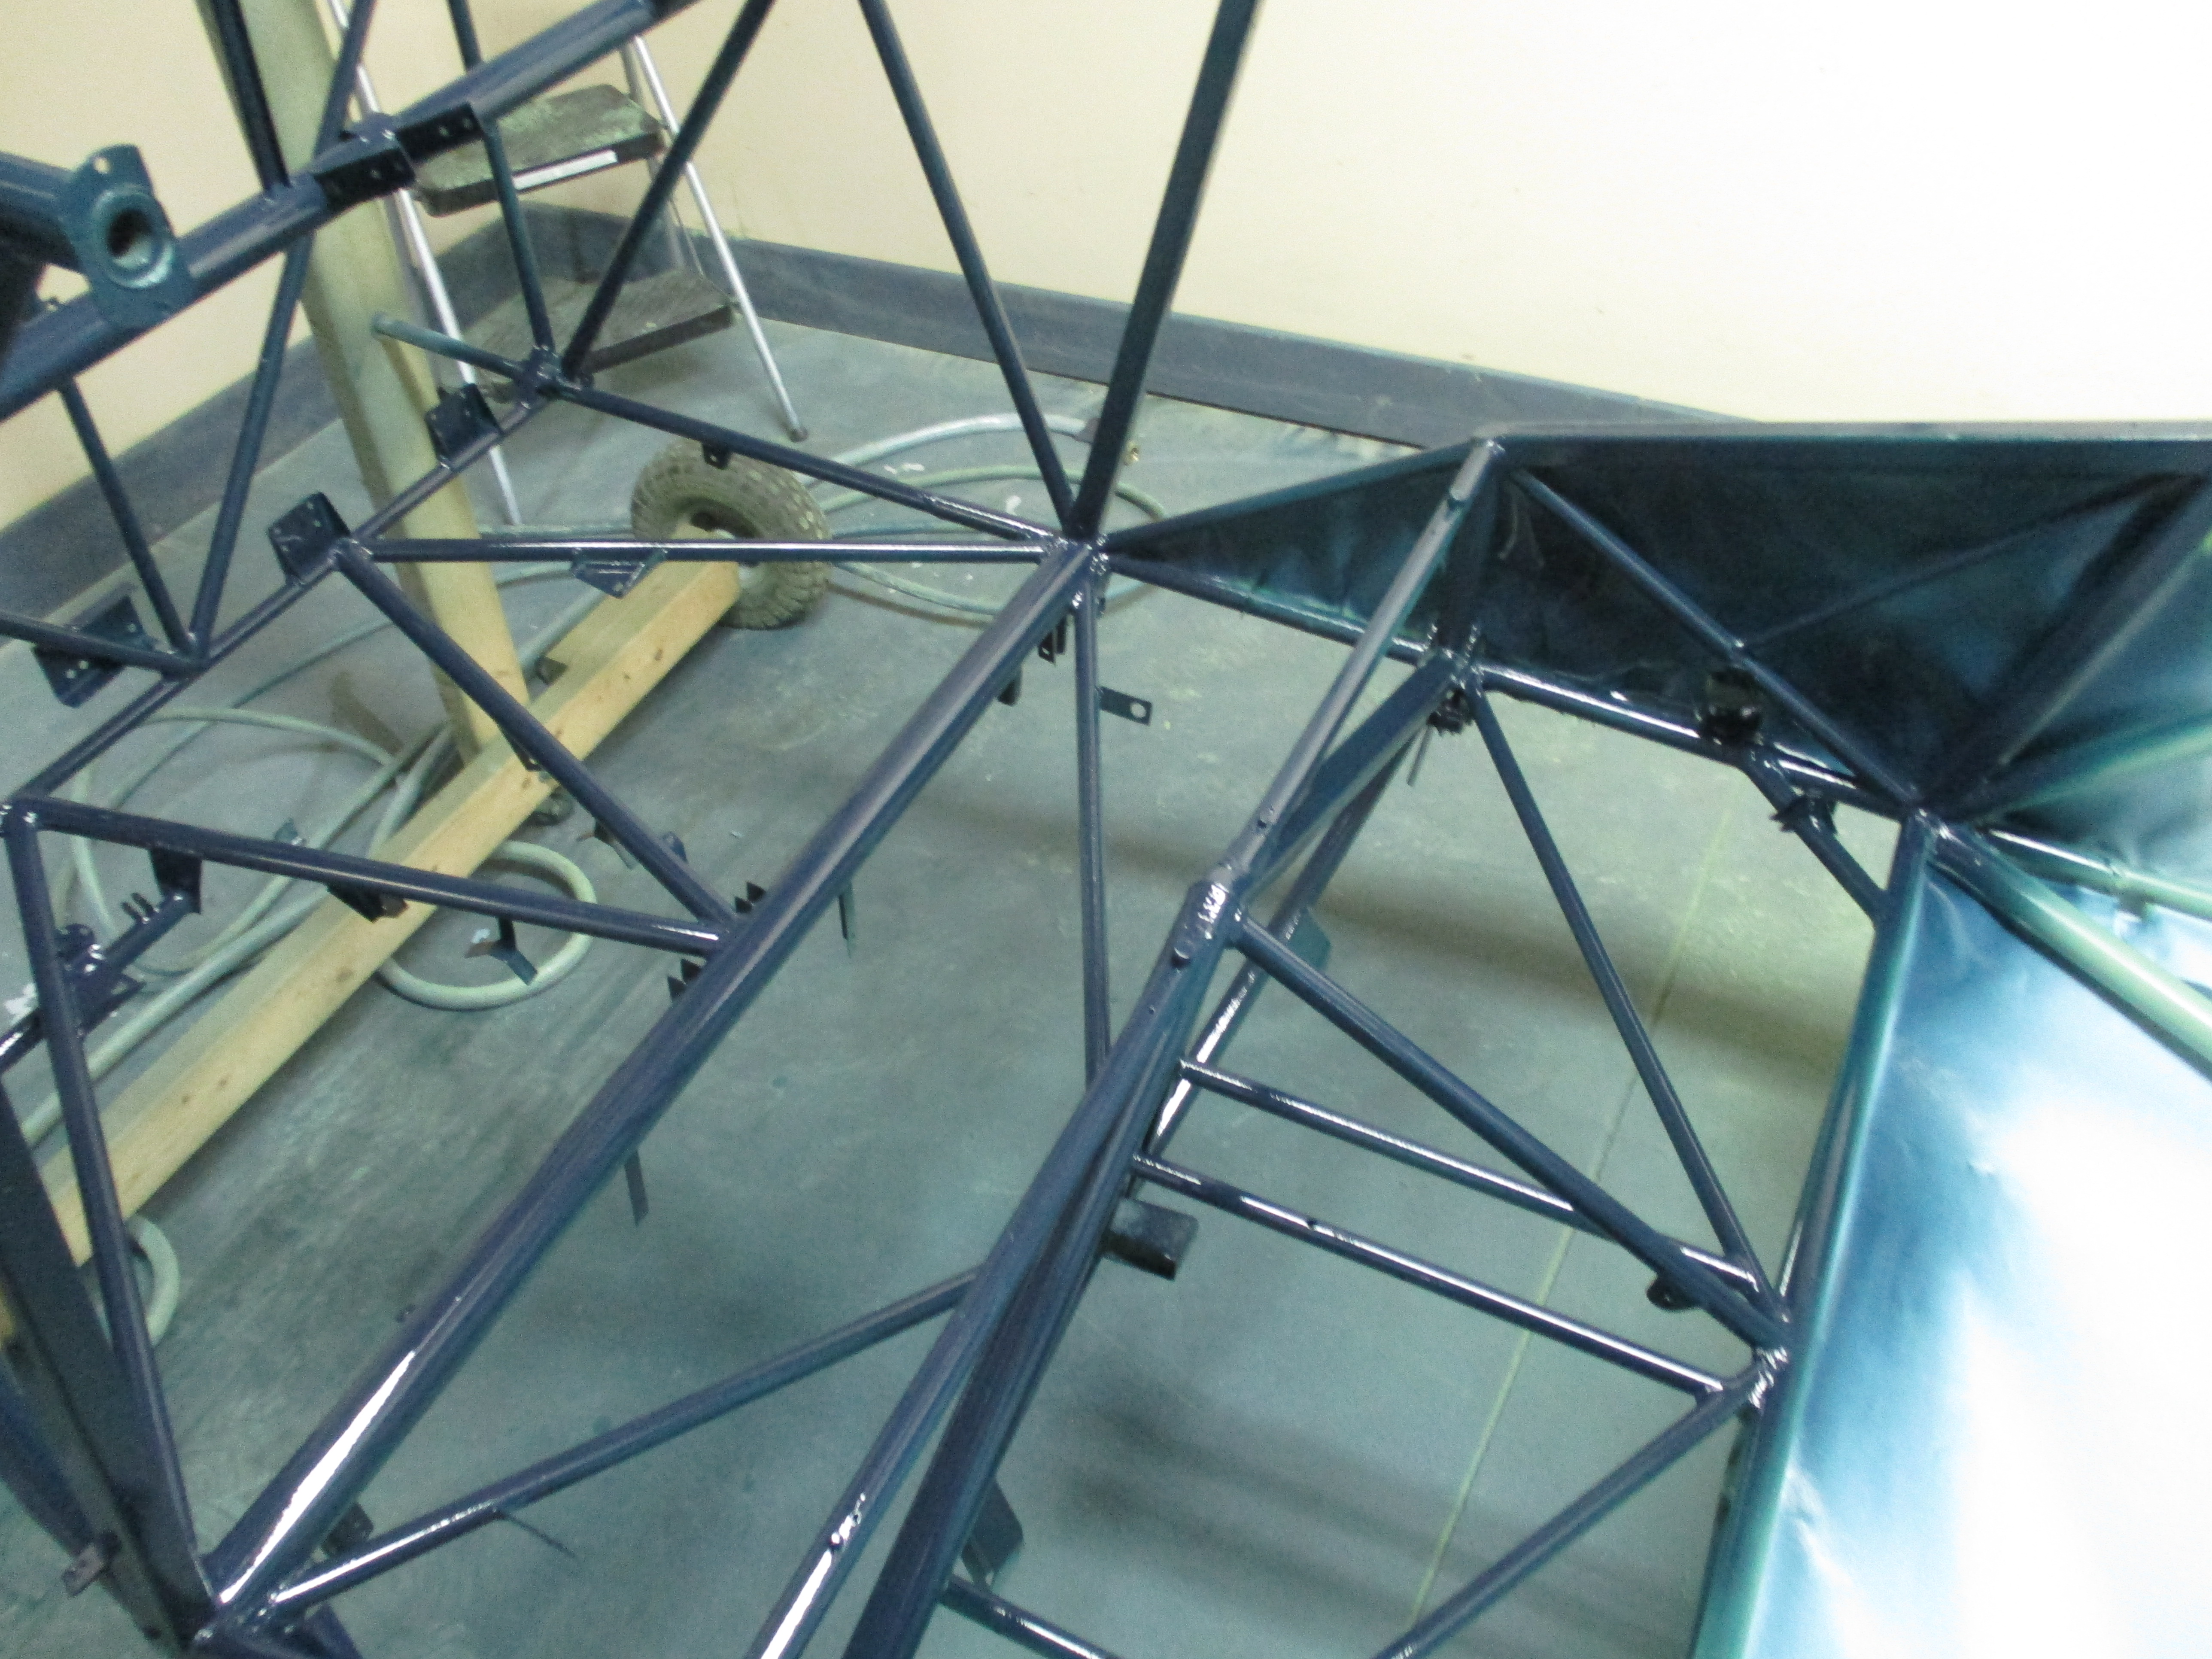
I have been working steady and have got a lot done but cleaning & bead blasting small parts, metal prepping, alodine application, priming etc is very time consuming.
To scuff a coat of primer properly on the fuselage is almost a full days work and a bit like sanding a porcupine with all the standoffs and tabs sticking out everywhere.
But perseverance pays off !
I will now document the last couple of months work.
Make sure you click read more below to see the entire entry!


Hi Greg
I have a Stinson 108 that I am restoring and I have bead blasted the fuselage treated the metal and coated it with EP-420. I would like to further coat it with a 2 part Epoxy topcoat that I know is impervious to polyfiber glue and mek etc , but will it void the PolyFiber stc or can I use this epoxy topcoat.Also how long do you recommend after coating with EP-420 before you would put on a topcoat and would the primer need to be sanded or scuffed with scotchbrite etc.
Thanks
Murray Manning
Yes,
Murray.
You may topcoat it if the topcoat is chemically cured as
well. Remember, epoxy is not a good topcoat for sunlight so keep that in
mind before you use it on a cowling or an outside piece. Tubing should be
okay.
It is always good to let the first material cure for the
recommended cure time. Ours is 7 days at 70 F.
After that, scuff it with a Maroon Scotch Brite Pad and you
are ready to shoot.
Warmly,
Greg
Once I let the light green paint cure for a week I sanded the area where it had been painted dark blue at the factory and masked it off .
On this fuselage virtually the whole front end was painted at the factory in dark blue some which of course is visible when the interior is installed ( ie: the cross tubes behind the windshield) and some that is not visible.
I got the paint matched at the local Carquest and had them mix it in a 2 part PPG Urethane. It went on well a seems to match the original colour.


It was finally a nice day so I rolled all the piles of Stinson outside and swept the floor from the seemingly long winter we had.
Announcement!!
Before I get to the endless small parts I want to announce that my wife and I have unanimously decided on a colour scheme for this airplane.
(yes that is correct - colour- I am Canadian)
As previously mentioned this airplane will be built up as a certified airplane and the registration will be C-FYMW which is registered in Canada as a straight 108 serial number 655.
However the since the fuselage of 655 is full of holes in her rear end we have decided to substitute the fuselage from 108-1 (formerly NC8500) which I acquired a few years ago near Lockport NY from a fellow who also owned at the time a nice 108-3 and a SR Gullwing .
This airplane coincidentally was built 2 airplanes before the beautiful 108-1 N8502 , previously owned by Mike Roe of Virginia and now owned by Ryan Sherwood in Indiana.
It was also one of the few 108's that was painted orange yellow with a blue stripe. We have decided to paint the airplane in that colour scheme - the way the fuselage came from the factory.
Yellow Stinsons look Great!
Ryan I hope you don't mind me using the picture of your airplane.
Following is pictures of the condition N8500 when I aquired it and what we want it to look like when this project is finished


The way C-FYMW should look when done.


No comments:
Post a Comment