Battery Box
I chose the best looking battery box I had between the two airframes and bead blasted it. When I was done a number of holes showed up in the bottom of the box. I imagine they are the result of battery acid eating away on the floor of the box for over 70 years.
The box material is aluminum and to repair it I cut a piece of 3/32 aluminum that fit snug and used JB Weld to adhere it in the bottom of the box. It did a great job and I am sure will last another 70 years
Here is the repaired box alodined and ready for some EP520 primer
along with a bunch of other parts primed and ready for paint
Lets Do A Little Woodworking
Just to refresh I am restoring A Canadian registered straight 108 but I am using the fuselage from 108-1 N8500
So this airplane will be essentially a 108-1 when completed.
One of the interesting things about 8500 is that it sat for many years and had a original interior - not in great shape - but good enough to make patterns
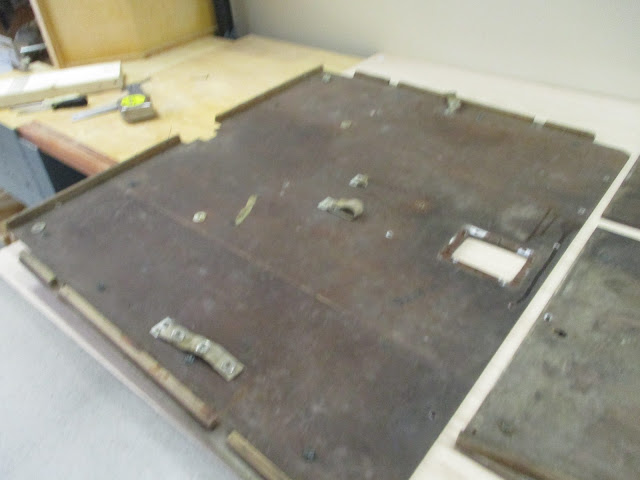
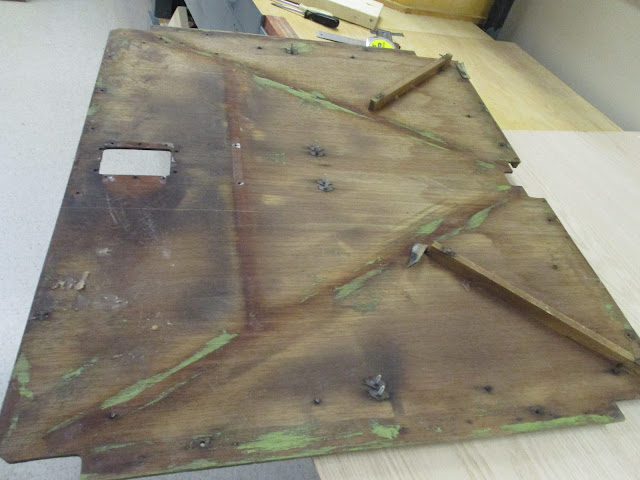
I probably could have reused the floor boards but elected to make new ones - here are some pictures of the old and new
Below is the top and bottom of the rear floor
These are hard to find wood nut inserts I reused them
The 108-2 and -3 Stinsons had an option they called a Station Wagon which had a reinforced rear floor that could carry more weight
The straight and -1 versions had only this small reinforcement
These are the front floor panels
Above and below are the panels that go ahead of the rear floor panel and fill in around the battery box
Below - These are the wood nut inserts again - that the control column cover secures to. - there are 3 in each front floor panel
Below is the new rear panel I built. I used 3/16" Oak venner ply and I applied epoxy resin impregnated 1/8" glass cloth with fire retardent on the bottom of all panels.
This added an incredible amout of strength to the panels
Rear panel fitted
Front panels fitted
Next job is gluing on the blocking around all the panels
I finally stained to top side with minwax pecan finish and semigloss clear with the flame retardent added


No comments:
Post a Comment