Wednesday, June 21, 2023

Next Job On The List Brake Cylinders


Here is a  Goodyear master brake cylinder that was installed

 on sn#1500 

Notice the the wire that attaches between 2 cylinders  

this is part of the park brake mechanism  see next picture

As you cas see in the following picture there is a small spring that keeps a lever pulled back and unable engage with the segmented shaft of the brake plunger. 

To apply the park brake you must depress both brake pedals and then pull a cable knob in the dash which pulls the wire in the previous picture and engages the lever on the cylinder shaft thus  maintaining fluid pressure on the calipers and locking the brakes 

One word - Chocks


I  do not have any pictures of me overhauling these (brain fart)  but I watched a couple of videos - including this link 

(https://www.youtube.com/watch?v=UvKz1b8-tCs&t=302s)

and as you will see the Goodyear version has only  1  o-ring  - so basically clean up any corrsion, and install a new oring using some aeroshell 41 brake fluid to lube things then clean mask and paint and make it look new


After and before pictures

Thursday, June 15, 2023


Battery Box

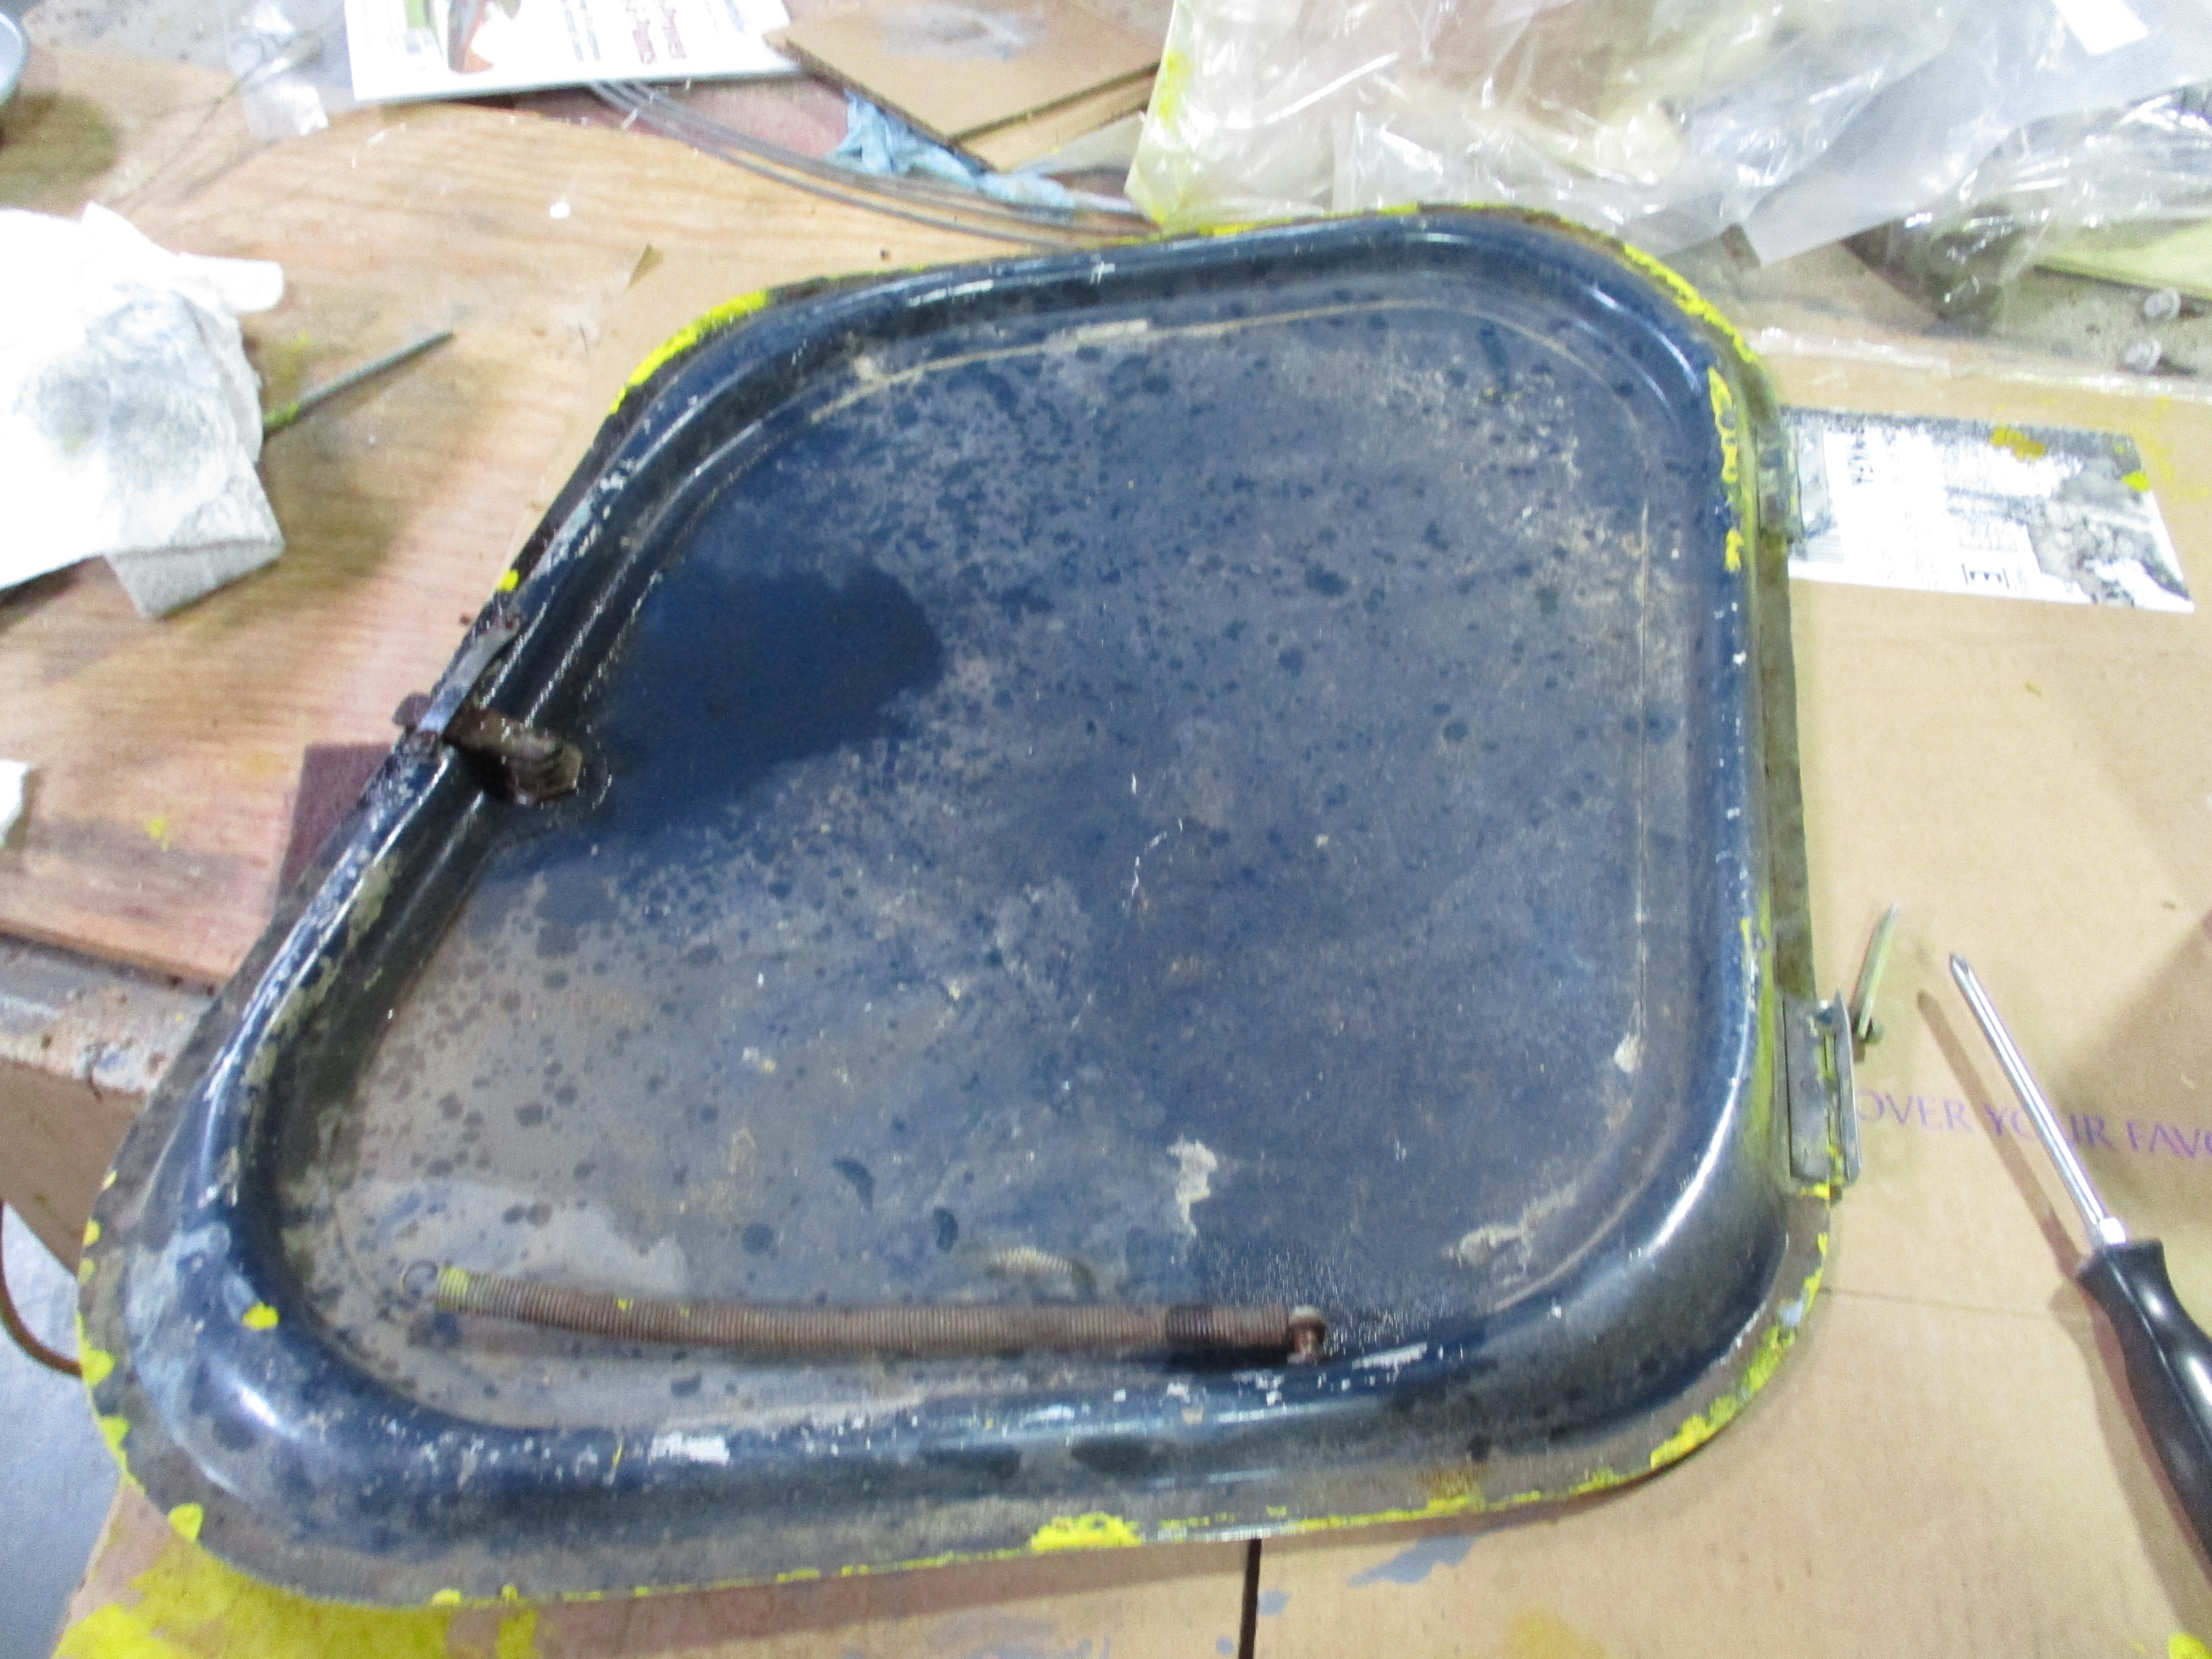
I chose the best looking battery box I had between the two airframes and bead blasted it.  When I was done a number of holes showed up in the bottom of the box. I imagine they are the result of battery acid eating away on the floor of the box  for  over 70 years.

 The box material is aluminum and to repair it I cut a piece of  3/32 aluminum that fit snug and used JB Weld to adhere it in the bottom of the box. It did a great job and I am sure will last another 70 years

Here is the repaired box alodined and ready for some EP520 primer


along with a bunch of other parts  primed and ready for paint


painted and trial fit


Lets Do A Little Woodworking


Just to refresh  I am restoring  A Canadian registered  straight 108   but I am using the fuselage from 108-1 N8500  
So this airplane will be essentially a 108-1 when completed.

One of the interesting things about 8500 is that it sat for many years  and had a original interior - not in great shape - but good enough to make patterns 

I probably could have reused the floor boards but elected to make new ones - here are some pictures of the old and new

Below is the top and bottom of the rear floor


These are hard to find wood nut inserts I reused them


The 108-2 and -3 Stinsons had an option they called a Station Wagon which had a reinforced rear floor that could carry more weight 
The straight and -1  versions had only this small reinforcement


These are the front floor panels


Above and below are the panels that go ahead of the rear floor panel and fill in around the battery box


Below - These are the wood nut inserts again  -  that the control column cover secures to.  - there are 3 in each front floor panel


Below is the new rear panel I built. I used  3/16" Oak venner  ply and I applied epoxy resin impregnated 1/8" glass cloth with  fire retardent on the bottom of all panels. 
This added an incredible amout of strength to the panels


Rear panel fitted


Front panels fitted


Center panels fitted  - looking nice


Next job is gluing on the blocking around all the panels


I finally stained to top side with minwax pecan finish and semigloss clear with the flame retardent added 


Lots of work but I am happy with the results

Saturday, June 10, 2023

EVERY PART ADDED BRINGS ME CLOSER TO FLYING  


 Next the rudder bars and control yoke


Bead blasted and ready to paint in the above picture


and below its sprayed with EP520 green  primer


The rudder pedal brackets, 
wooden blocks and bearing assemblies look a bit crustry but cleaned and painted up well and the bearings rolled smooth after cleaning and lube


Here is a picture of the rudder pedals cleaned up and installed 
on the  rudder bars painted in the dark blue  and the rudder cables
and return springs attached

Here are a couple of before pictures


Restoring The Control Column


 I the following 2 photos  you will see a slight difference in the columns.
The one on the left came from 108-1 sn#1500 and the one on the right is from straight 108 sn# 655


As you see there is an adjustment stop bolt on the later built sn#1500
control column - not so on the earlier version.  Since I am using the 108-1 fuselage in this build I elected to use the column that came with it.

The earlier column still has the cables attached so Iwill use it as a reference when I rig the new cables


After removing all the u-joints,pulley and bearing assemblies and beadblasting it got a good coating of EP420 green primer followed by 50 series green epoxy


I cleaned, lubed and reinstalled the bearings and installed it in the airplane with new hardware


Wednesday, May 31, 2023

BACK ONLINE WITH THE BLOG


For anyone who was following this blog I apologise for the delay.

 I was more focused on restoring  than publishing.  I did however

 takesome pictures along the way and I will do lots of

 before and after comparisons  -  Murray

Wednesday, October 6, 2021

 Just a Few Update Pictures

I have been behind in adding the progress information and before and after pictures to this blog and I intend to get caught up in the near future.  Just to show I have been working on the airplane I will add a few pictures of where it stands today in the restoration    


Tuesday, July 27, 2021

Stripping Some Bigger Parts 

Depending  on the size and material the part is made of  I use different processes to remove the original paint and corrosion etc.

Most of the sheet aluminum parts will be stripped  using  paint  stripper or soda blasted.

I use the soda sparingly on hard to reach places after stripping or sanding. It does a great job but it uses a lot of soda and in Canada the soda is expensive  and with the border to the USA closed to entry for Canadians I can't get to my regular source.


I used a paint stripper I bought at AirVenture a number of years ago named Ez Way  paint remover   and it really worked well on the original dope finish. It does not seem as harsh as other systems I have used and it does not have to be neutralized by water. 

EzWay Link 


Ready for a coat of blue the way it was finished at the factory


I thought I would strip the panel layover. This is one I picked up on E Bay a few years ago.  It is stock with no extra holes or modifications. I stripped it with the EZ Way product  It cleaned up nice.


Next Job On The List Brake Cylinders Here is a  Goodyear master brake cylinder that was  installed  on  sn#1500  Notice the the wire that  a...